Monday, 27 October 2014

Maya

27/10/2014
Here is my Wooden furniture. I followed the tutorials on Lynda.com to create a ladder chair, round chair, bench table and round table. I created the wooden texture in photoshop from scratch again following the tutorials on Lynda.com.

I found creating the models difficult in places as I struggled to understand some bits of information in the tutorials. I therefore spent a lot of time experimenting and guessing on how to correct and finalise my models especially on the round table. I managed to find the unwrapping challenging, but I also found new and efficient ways of unwrapping objects especially cylindrical objects.


I found the texturing a lot easier than the modelling of the furniture and a lot of fun as well. I feel that i could of taken more time and care on the overall texturing, but I am proud with the final results.


20/10/2014
Here is my crowbar and UV unwrap.

I found modelling the crowbar fairly easy although struggled a little modelling the crowbar edges. My uv unwrap of this model isn't perfect as it is stretched in places. I need to learn how to uv unwrap Cylindrical objects more efficiently.


Visual design: Perspective

27/10/2014

One Point Perspective

This week I followed a tutorial on youtube instructing me on how to create a post apocalyptic scene using one point perspective. I first followed the tutorial step by step drawing the necessary construction lines lightly in pencil. Once C completed the tutorial I added additional features to make it my own. I used many references from Fallout 3 as the game has an iconic torn down freeway in it's environment.


I still wasn't satisfied so I continued adding additional detail before going over my sketch in fine liner. I erased my pencil work and added colour with different shades of grey pro markers. I decided to just use grey as I wanted to keep the image simple. I thought about adding one additional colour such as brown to stand out, but I wasn't sure how it would turn out especially as I have little experience using pro markers. I used a black pro marker to colour in the silhouettes of the man and dog.     


Monday, 20 October 2014

Visual Design: Sci-Fi Weapon

20/10/2014

Sci-Fi Weapon

I started this weeks homework by researching different types of Sci-Fi Weapon designs from both games and media. I also decided to research different material designs to try and be more original rather have a typical metal weapon.

I wanted to create a weapon design which can be moulded and reshape to the player's requirements, so the type of materials I researched where different types of plastics and putty.


I began my rough sketches deciding what my main weapon type would be. I sketched out rough silhouettes based on the guns I've researched to help get a better idea of what shape I wanted my gun. I asked myself whether i wanted to create a small pistol or a large sniper.


I also sketched different textured material designs and shapes to help get a better idea on what sci-fi material I wanted for my gun. I also want to show the material in my final work as I want to express the freedom the material allows the user to create any weapon design.


I created two final sketches one for a pistol and another for a sniper. I decided to go with the pistol as it was a more simpler design and I felt the design was more pleasing to the eye.


I decided to go with a putty type material as I feel it's a more believable material to use for a portable malleable material for my weapons. I want to focus more on the coloured texture rather than the features of each weapon as I want to explain the type of material used for each weapon created. 


I decided to use the colour green as it's a common colour associated with sic-fi and it also helps express the malleable putty material. I laid my final piece out like blueprints explaining the new range of guns and the new material used to create it. 


Monday, 13 October 2014

Visual Design: Tentacle Monster

13/10/2014

Tentacles

For the past couple of days I've been gathering images of different creatures which have tentacles apart of their anatomy. The images I've gathered range from real life creatures such as the octopus and the giant squid and some from mythology such as the krakan.  Below are just some of the images I've gathered in this mood board

I also watched a documentary on the giant squid to get a better understanding of it's lifestyle and anatomy, so that I can visualise and portray a more realistic creature in my drawings. 

(Giant Squid Full Documentary-Youtube)
https://www.youtube.com/watch?v=OGuhXl0aR4I&spfreload=10%20Message%3A%20JSON%20Parse%20error%3A%20Unexpected%20EOF%20(url%3A%20https%3A%2F%2Fwww.youtube.com%2Fwatch%3Fv%3DOGuhXl0aR4I)

From the research I've gathered I started roughing out different ideas for my mythical, tentacle creature.


Here is my final sketch of my tentacle creature. After doing my research I found many fascinating facts about the octopus that instead of creating a bizarre creature I thought to keep things simple and exaggerate on the key features an octopus possesses. In this case it's camouflage.


Of course as this is only a sketch you can't see how the octopus I've created uses it's camouflage to catch it's prey. I plan to blend the creature into the sands and the sea to make it look like he's emerging from the seabed below.


I've opened the sketch into photoshop and I started adding layers. One for the levels which thickens the lines, one for the basic colours and one for shadows. I used multiply of the basic colours and shadows layers so that the outlines of the sketch can still be visible as I add detail. The paper I drew the sketch on has become visible in the background leaving this grainy, pixelated feel in the background. I've decided to keep it as it adds a unique texture feel to the image especially to the sand.

The next steps is to add the final details in which will make the octopus blend into it's surroundings. 

Here is my final tentacle image. I wanted to improve this artwork by making my creature more camouflaged in the sand as if it appeared out of nowhere and surprised the victim. I feel with more studies in photoshop, colour theory and shading I will be able to improve my pieces and be able to achieve in fully creating the ideas in my head.

Monday, 6 October 2014

Unity: Level Block Out

Over the weekend I started to block out my level in Unity. I faced some minor glitches which required some tweaking on my level in both Unity and Maya. After some remodelling, adding mesh collision and testing here is the fist block out of my level design in Unity.


Friday, 3 October 2014

Game Encounters Winter project: Designs

Over the past 2 days I've been doing research into what level design I wish to produce for this project. I wanted to produce a post apocalyptic style horror, so I decided to gather research from watching many first person horror walkthroughs on Youtube including Outlast and Alien Isolation.

Game Grumps play Outlast

Pewdiepie plays Alien Isolation

LetsPlay P.T

What I found in common with these titles was they focused on putting the player in closed spaces such as corridors and small rooms with little light to create a powerful and eerie atmosphere. With the first person camera the small spaces and lack of lights makes the player feel claustrophobic and on edge. These are the elements I want to simulate in my level design.

Before I started drawing I researched on google different level designs from different games to get an idea on how to produce them on paper and also for inspiration. 


From there I started creating roughs to help open my mind and picture what sort of gameplay I want to produce baring in mind it will have to last for 2 minutes.


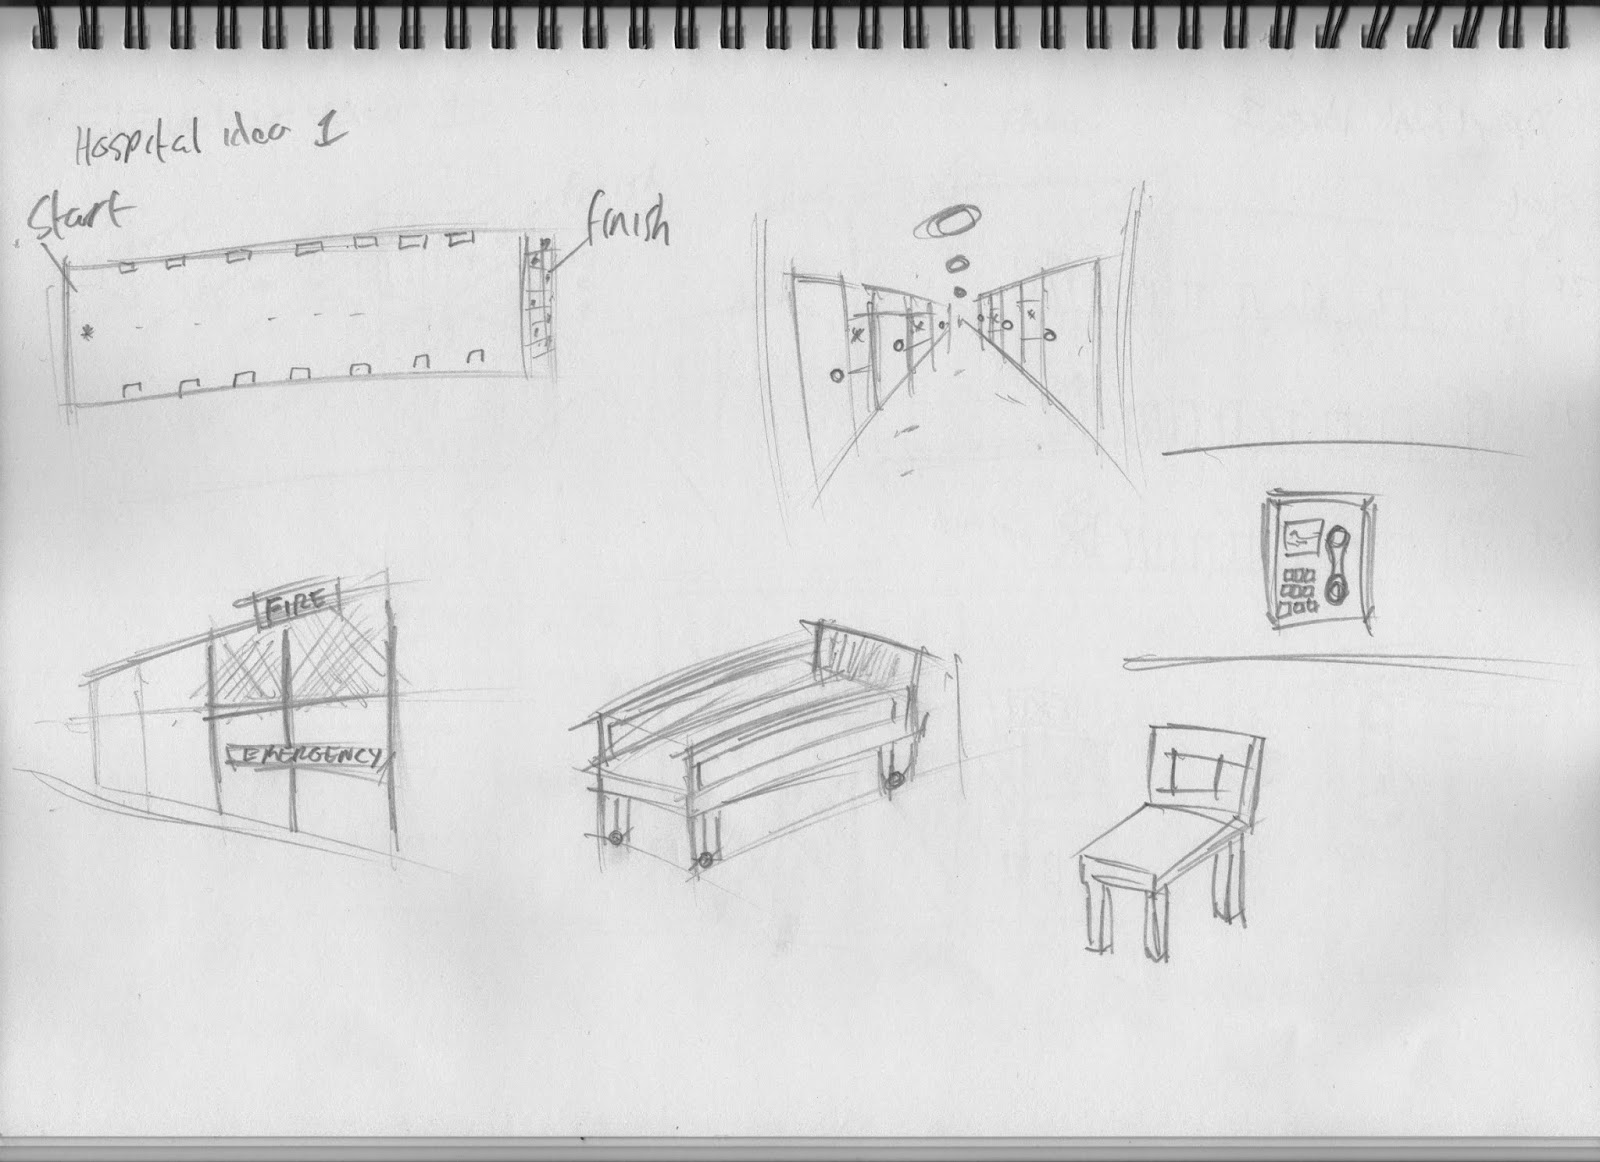
After I got my creative juices flowing I started creating designs on specific areas from Hospitals to Elevators.


After many hours of research, sketching and pondering I decided to base my level designs on an elevator/corridor. I chose this as I feel I can really play on the minds of the gamer in a short amount of time using a mixture of lights, sounds and simple animation in this environment. This level design will be a small, closed environment with little lighting making the gamer feel on edge and uneasy.

I returned to google to further my research into elevator designs to get an idea on what style I want my level to be.


Using these images I started creating rough elevator designs and level layouts for my level.


I then combined all three designs to create my final level design for my one sheet.

Using my one sheet I started blocking out my level in Maya.