Temple
For the past couple of weeks I've been attempting to recreate this image in 3D form in maya.
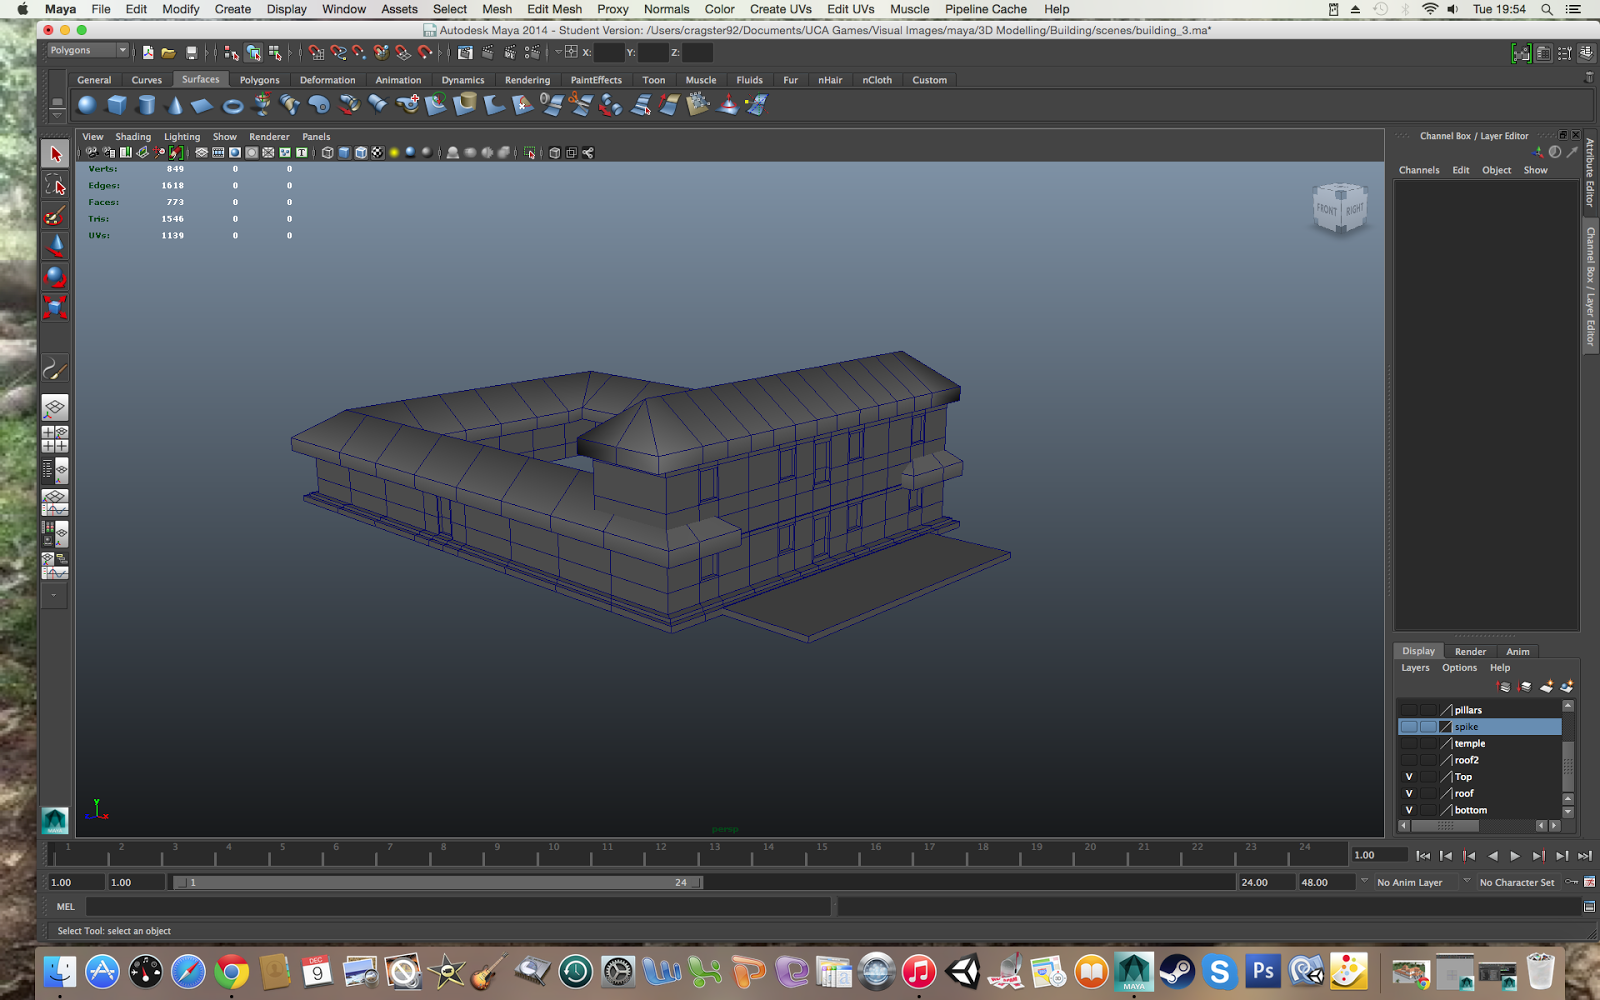
I decided to work my way from the bottom up on the outer building and model the smaller building later. I noticed several pillars lined across the the outer building. which I thought would be good markers to help divide the model up into sections. By creating a cube I duplicated it the same number of times there are pillars (8 Pillars). I then combined the cubes, used the merge vertex tool to connect each cube together and mirrored the final object to get a square.
I then added extrusions for the doors and windows.
I duplicated the front row to create the top level of the outer building.
It took me several attempts to create the roof, but the best method I found was also the simplest. I created to planes and rotated them 45 degrees into each other, combining and connected them using the merge vertex tool. I then duplicated and scaled the roof multiple times.

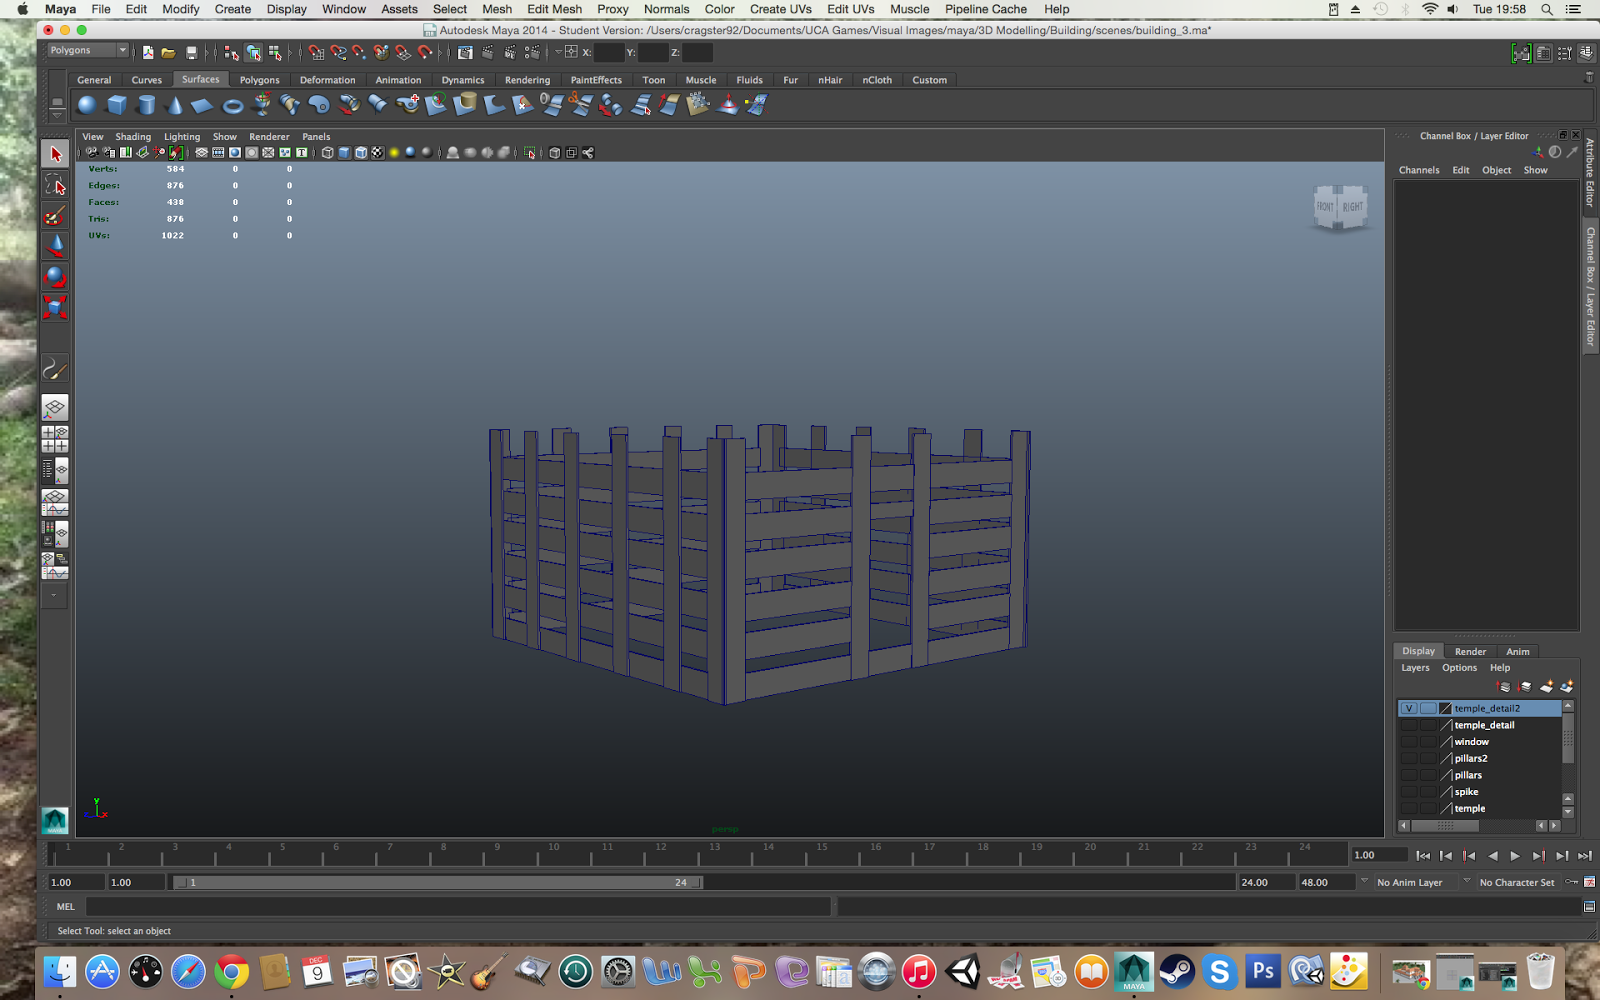
I then created the pillars surrounding the building. I did this by creating and scaling out a cylinder. I then created a sphere, which I then squished and extruded the top faces. I duplicated the sphere and repeated the process with a new cylinder.
Then I had to create the supporting pillars at the entrance which i did by creating a box and extruding multiple times scaling in and out on different sections.
Thats the outer building sorted now it was time to move on to the smaller building. I created this using the same method as the supporting pillars by creating a box and extruding multiple times and scaling in and out for every section. For the larger roofs I extruded, scaled out and then extruded down. I duplicated one of the previous created roofs and scaled down for the triangular roof on the top.
For the spikes on top of the roof I created a box and placed a sphere on top. I duplicated the sphere multiple times scaling and squashing them down to match the shape in the reference.
For the support beams on the upper level I created and duplicated a simple box which I scaled out. For the vertical poles I created a cylinder, added edge loops and moved the verticies around to bend the cylinder around the beams.
The lower level was much more simpler and just required scaling and duplicating a simple box. I used the same method for the windows.

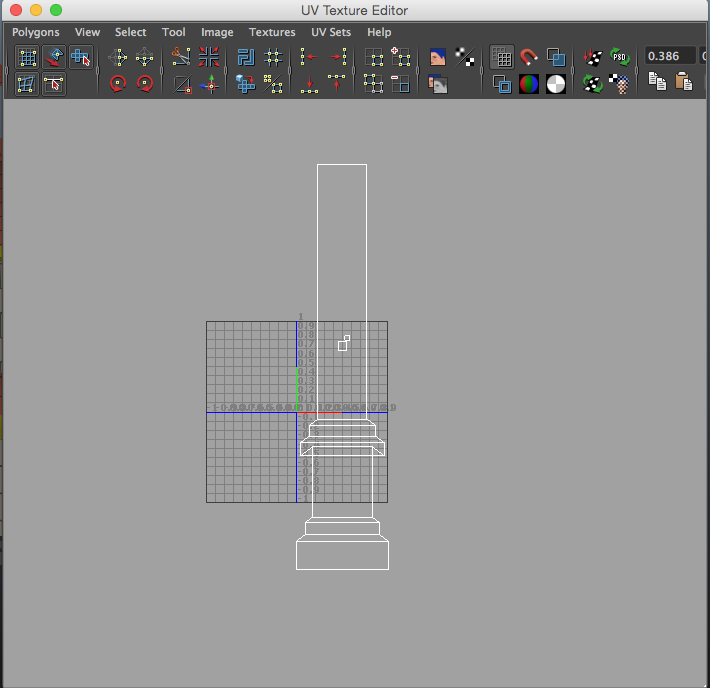
Once i was happy with the model I created and added a checkered texture to the model, so that I could see the stretched UV's. I would need to correct the UV's in the UV editor if I wanted my textures to come out correctly and not distorted.
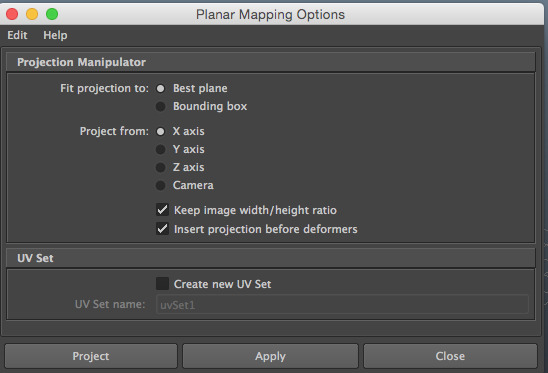
I used a planar mapping on each side of every individual model making sure that "Best Plane" and "Keep image width/height ratio" were ticked. This helped kept the UV's in proportion with the model and required little editing to fix the distortion. I then simply scaled the UV's up and down making sure they were in proportion to the model.


I then added my textures and made final adjustments to the UV's, textures and models until I was satisfied.
There is definitely room for improvement as some of the roof models are distorted their edges are not parallel to one another. I feel this was probably due to a mixture of rushing and over complicating the process in creating the model. I definitely learnt some new tricks to help make my modelling process quicker, easier and most importantly more accurate to the reference image, which I will use in the future.


No comments:
Post a Comment