Wednesday, 10 December 2014

Games Encounters Winter Project: Final Update

10/12/2014

Final Update


In this term I have been trying to create a simple game in unity with the objective creating three trigger events, using no real textures or AI and gameplay lasting at least 2 minutes. This assignment proved to be tougher than I first assumed.


I created and used this storyboard to use it as a guideline for myself when i was modelling out my level and creating scripted events.


My level consisted of a series of thin boxes which is used to create walls and formed two boxes. One for the corridor and one for the elevator.

Down the hallway I added two area lights and a number of doors all scripted with a zombie sound effect. I obtained the sound effect from www.freesound.org. 


I created a button with a script which opened the doors, turned off the spotlight highlighting the button and played two audio sounds. The ding sound effect I obtained from www.freesound.org, but the elevator music I got from youtube. I applied GUI text to all buttons when you hovered the mouse over the button.


I struggled scripting the elevator controls button as I originally wanted this script to simulate different actions at different times throughout the game. However due to my lack of scripting knowledge I was forced to change my idea and, so this button was scripted to close the doors and turn all sound and lights in the room off. 


I created a scripted button to turn the lights back on. When the lights came on they would change colour to a warm red to help create an unsettling atmosphere.


I recored myself acting out a distress call with zombie sound effects in the background. I used Wavepad sound editing software to record two files. One with the distress call and one for the zombie sounds. I then merged the two files together and added a telephone audio effect to the final sound. This helped make the audio appear as if it was playing through the speakers.


I added a sphere underneath the telephone button which opened the doors.


As the player walks out I created two triggers one turning off the lights.


And another displaying a creepy zombie jpeg file. 


I created the zombie image by using a zombie makeup reference image from google and creating a charcoal texture layer to bring out the silhouette and editing it by adding a series of overlay layers. I then used an alpha channel to eliminate the background, so when the image is loaded into unity it will appear as if the head is floating.


I wanted to create a global script which activated every trigger script one at a time, but it was too complicated for my skillset to understand. I therefore left my game as it is which means that all scripts are active and there is no order for the gamer. I am disappointed that my skill level has limited my scritpting capabilities, but I am proud of the game I have created. I feel I shot myself in the foot early on when I wanted to create an elevator with only two scripted buttons. This created more hassle than the assignment needed to be and therefore cost me valuable time and has had a major effect on my final game. 

In the future I will learn to take my skillset into consideration and create a concept that I know I can create rather than just knowing it's cool and original. 


Tuesday, 9 December 2014

Visual Design: Anatomy

09/12/2014

Anatomy

Over the past couple of weeks I've been studying anatomy from the following book "A Complete Guide: Anatomy for the Artist". I focused my studies on the major bones and joints of the human body to help improve my understanding of how the human skeleton works. This will help improve my drawings as this will help improve my proportions, roughs, gestures and blocking out characters in my artwork.

I decided to focus on the key points artists use to mark out proportions when starting a new drawing. these points are the skull, clavicle, thorax, scapula, elbow, hands, feet, pelvis and the knee. I did by best to replicate the illustrations shown in the book


Skeleton


Skull


Shoulder


 Elbow


Hand


Thorax


Pelvis


Knee


Foot


I really enjoyed this exercise as it gave me a chance to experiment with what I've learnt over the past couple of months such as new shading techniques. This has definitely improved my knowledge and understanding of the human anatomy although I feel I need to improve my skills in drawing the feet. I struggled drawing the feet in this task and this is a area, which needs improving in my work. 


Maya: Temple

09/12/2014

Temple


For the past couple of weeks I've been attempting to recreate this image in 3D form in maya.

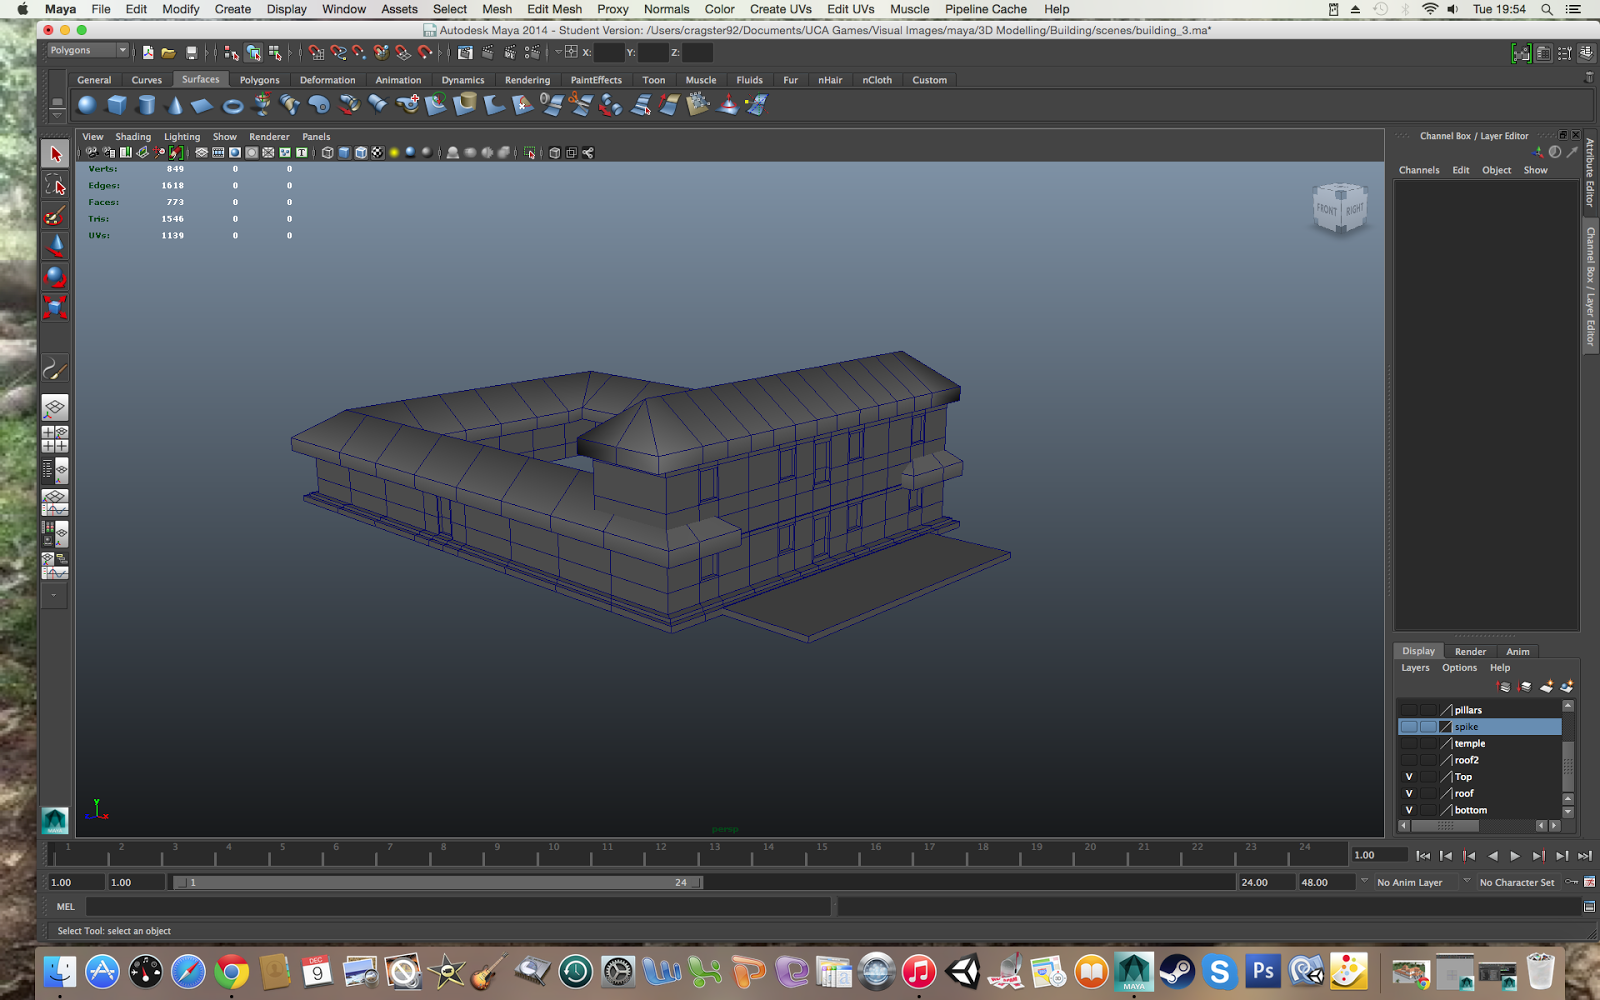
I decided to work my way from the bottom up on the outer building and model the smaller building later. I noticed several pillars lined across the the outer building. which I thought would be good markers to help divide the model up into sections. By creating a cube I duplicated it the same number of times there are pillars (8 Pillars). I then combined the cubes, used the merge vertex tool to connect each cube together and mirrored the final object to get a square. 

I then added extrusions for the doors and windows.


I duplicated the front row to create the top level of the outer building.


It took me several attempts to create the roof, but the best method I found was also the simplest. I created to planes and rotated them 45 degrees into each other, combining and connected them using the merge vertex tool. I then duplicated and scaled the roof multiple times. 


I then created the pillars surrounding the building. I did this by creating and scaling out a cylinder. I then created a sphere, which I then squished and extruded the top faces. I duplicated the sphere and repeated the process with a new cylinder. 


Then I had to create the supporting pillars at the entrance which i did by creating a box and extruding multiple times scaling in and out on different sections.


Thats the outer building sorted now it was time to move on to the smaller building. I created this using the same method as the supporting pillars by creating a box and extruding multiple times and scaling in and out for every section. For the larger roofs I extruded, scaled out and then extruded down. I duplicated one of the previous created roofs and scaled down for the triangular roof on the top. 


For the spikes on top of the roof I created a box and placed a sphere on top. I duplicated the sphere multiple times scaling and squashing them down to match the shape in the reference. 


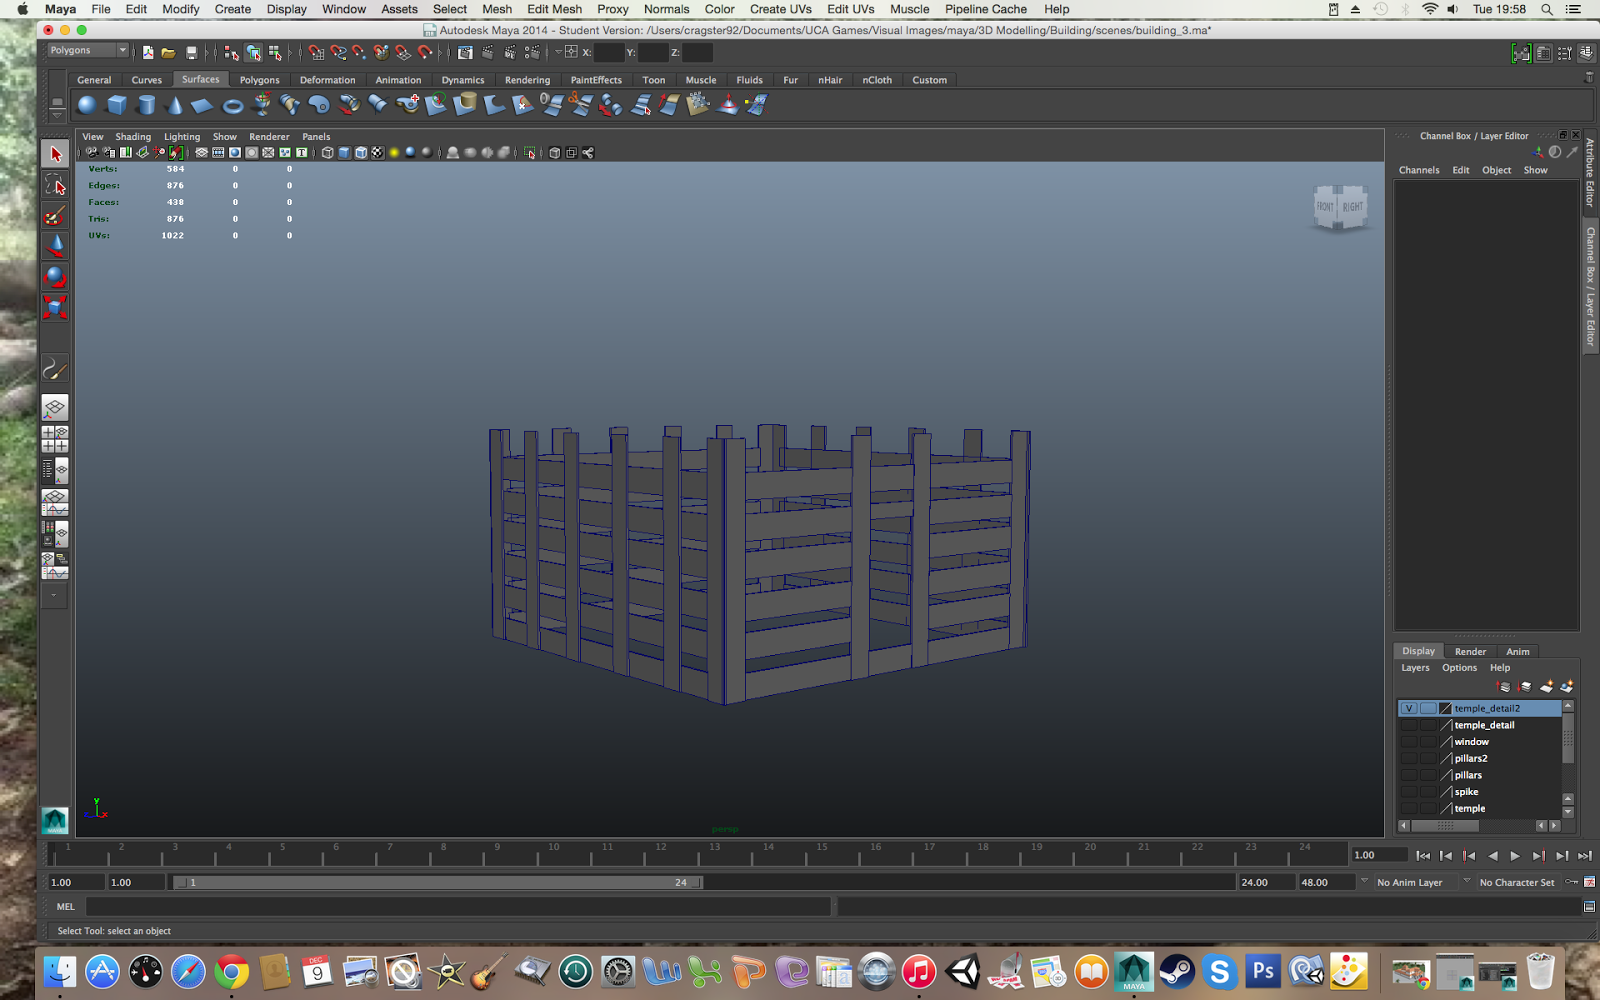
For the support beams on the upper level I created and duplicated a simple box which I scaled out. For the vertical poles I created a cylinder, added edge loops and moved the verticies around to bend the cylinder around the beams.

The lower level was much more simpler and just required scaling and duplicating a simple box. I used the same method for the windows.

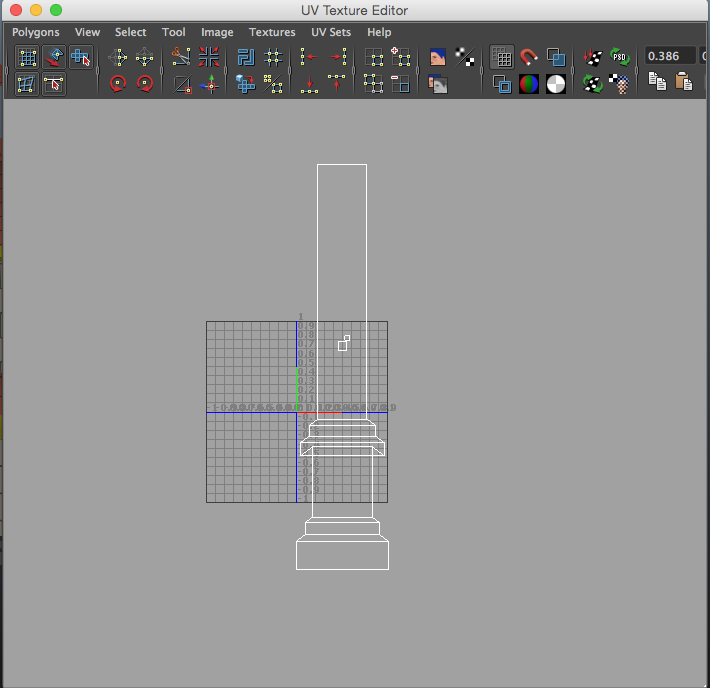
Once i was happy with the model I created and added a checkered texture to the model, so that I could see the stretched UV's. I would need to correct the UV's in the UV editor if I wanted my textures to come out correctly and not distorted. 

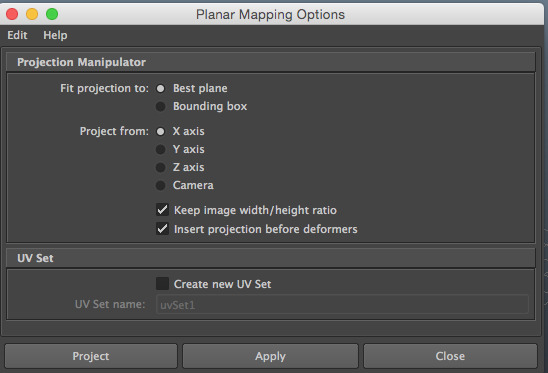
I used a planar mapping on each side of every individual model making sure that "Best Plane" and "Keep image width/height ratio" were ticked. This helped kept the UV's in proportion with the model and required little editing to fix the distortion. I then simply scaled the UV's up and down making sure they were in proportion to the model.


I then added my textures and made final adjustments to the UV's, textures and models until I was satisfied.


There is definitely room for improvement as some of the roof models are distorted their edges are not parallel to one another. I feel this was probably due to a mixture of rushing and over complicating the process in creating the model. I definitely learnt some new tricks to help make my modelling process quicker, easier and most importantly more accurate to the reference image, which I will use in the future.